


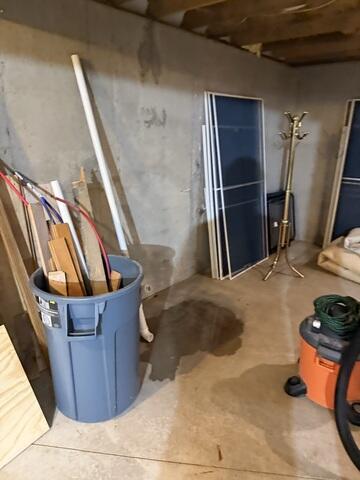
The Original Crack
In Bruce's basement, water was coming in and pooling in one area. There was a crack running from the floor to the ceiling that had water slowly seeping in and dripping onto the floor, creating that large wet spot.
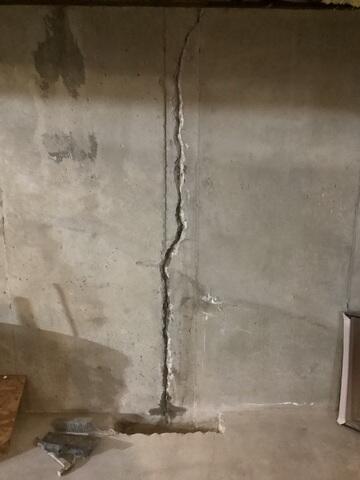
Xypex Repair Prep Process
Before the Xypex can be used, our Team identified the crack and then created a U shape, having the center of the crack at its lowest point. They also removed a section of the floor below the crack to ensure they uncovered the full crack and will be installing other waterproofing products to help as well in this repair.
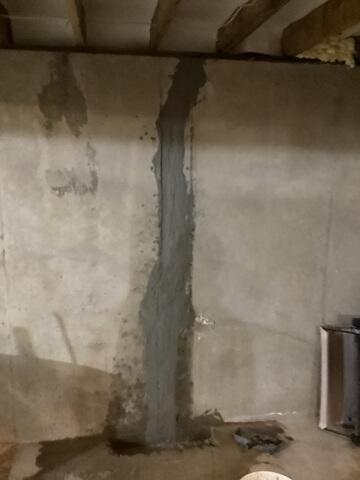
Xypex Reapir
The Xypex system used is a cement-like product that is mixed together and then applied to the crack. This system will plug the hole, stopping any water from coming through, and will fill in the crack. Our Team will make the Xypex flush to the wall so no bumps or raised parts in the repair.
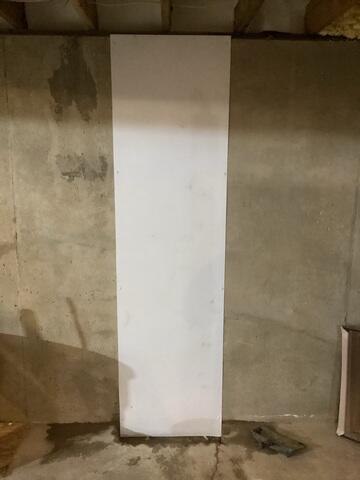
BrightWall Installed
After the Xypex repair is complete and dried, a custom-sized piece of BrightWall is installed. The BrightWall will direct any moisture that seeps from the wall and the repaired crack down to the perimeter drain system installed below.
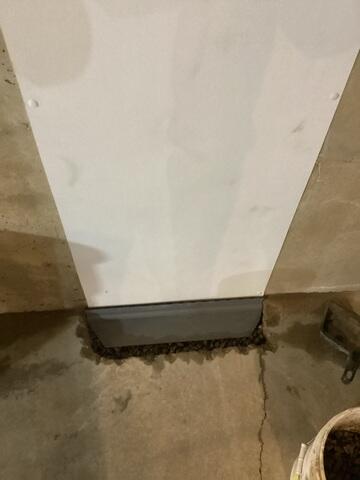
WaterGuard Installation
Right below the BrightWall, a clean layer of stone is placed, and then a custom-cut WaterGuard piece is placed. The WaterGuard will capture that moisture and have it go to the perimeter drain system already in place in the house.
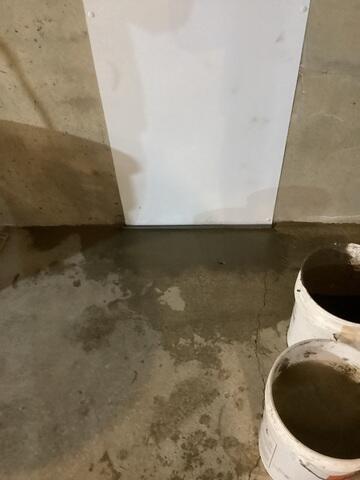
Sealing in the WaterGuard
After everything is in place, a flood test is conducted to verify that all components are functioning correctly and that no leaks or defects are present. The WaterGuard is sealed in with concrete so that only the flange of the WaterGuard is exposed, making it nearly invisible.
